Showing posts with label cupcakes. Show all posts

Thursday, June 7, 2012

Cinnamon Toast Crunch Cupcakes!


Good morning friends! It is a very good morning here anyways. Dan just called and told me he was exempt at his military physical test! Which means he did SO well that he doesn't need to do it again for 2 years!Also I am sitting here munching down some 5 minute chocolate oatmeal! Great way to start the day!
It looks a little "crazy" but I assure you it is delicious & healthy! Find it here on chocolate covered Katie!
http://chocolatecoveredkatie.com/2011/09/21/five-minute-chocolate-oatmeal/
I am also sipping on a big cup of coffee! I have professed on here that I am a bit of a coffee "addict" but I have been cutting down my consumption to ONCE  A DAY! It's been hard, but I know it is much better for my health!

Back to business: Here I am, posting this wonderful recipe just like I promised! My sister in law Claire loves to cook, bake and make everything fabulous! She is very talented! She decorates cakes and she is very creative! So we were chatting on the phone the other night and she was telling me about these cupcakes & I asked if I could share the recipe on my blog! So here we are :)
Here is what you need!

Cinnamon Cake:
  • 3 eggs
  • 1/3 cup oil
  • ¾ cup buttermilk
  • 1 teaspoon vanilla extract
  • ¾ cup sour cream
  • Vanilla Cake Mix (not white cake mix)
  • 1 ½ teaspoon cinnamon
Cinnamon Toast Crunch Buttercream:
  • 8 oz cream cheese, softened
  • ½ cup butter, softened
  • 1 teaspoon vanilla
  • 3 cups powdered sugar
  • 2/3 cup Cinnamon Toast Crunch powder
(Crush the cereal in a bag and then sift out 2/3 cup)

This recipe has been taken & loved from:

Step one:
Preheat oven to 350F & put 20-22 cupcake liners in your cupcake pans.

Step two:
In a large bowl combine eggs, buttermilk, vanilla & oil. Mix in the sour cream. Add the cake mix & cinnamon stirring until smooth.

Step three:
Pour the batter into the liners until they are about 3/4 full. Bake the cupcakes for 15-18 minutes, or until you can poke a tooth pick into them & it comes out clean :)

Step four:
To make the buttercream you need to beat the cream & butter until fluffy. Add the cinnamon toast crunch powder, vanilla and powdered sugar. You can use milk to adjust the consistency, depending on how thick you like your icing. 

Step five:
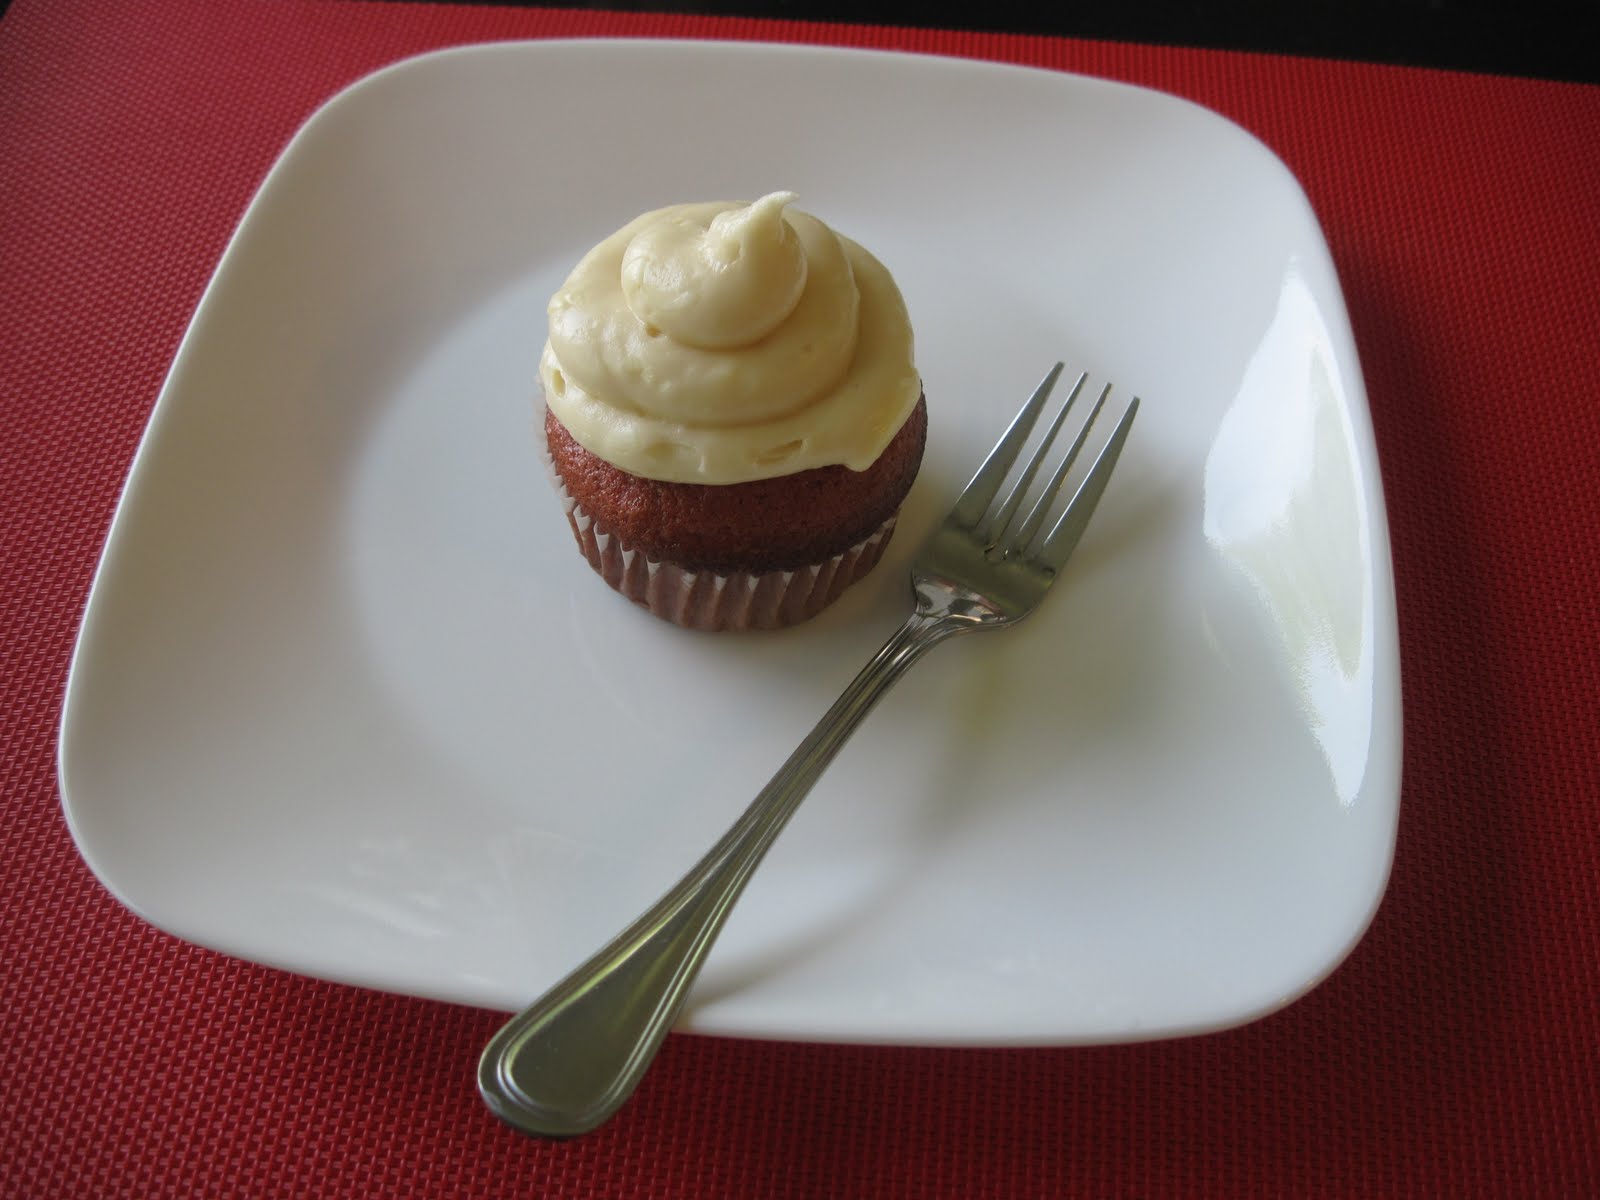
Decorate your little cupcakes with the icing and a nice cinnamon toast crunch cereal on top! Enjoy every bite & of course, share

Enjoy your day today! Get outside and enjoy the fresh air!
xo

Monday, December 5, 2011

Cupcakes for Two

Saturday night after a long day of working around the house, and eating our big bowls of fettuccine alfredo we wanted a coffee and a dessert. I was feeling some cake. There are only TWO of us and if I made a cake or a dozen cupcakes we would eat much more then we should...Then I would also have a cake and cupcakes to figure out what to do with. SO I typed in cupcakes for two on google and this blog popped up! It's the first one that shows up..I didn't do much searching around because this recipe sounded good to me. One bowl..and 12 minutes. Sounds good to me! haha. Here is the link to the recipe..
http://www.howsweeteats.com/2011/03/one-bowl-vanilla-cupcakes-for-two/
I found my cupcakes took longer then she said...but it is probably just my oven.
I wanted to share this because I felt like its a great dessert idea! You can spice it up however you would like! I always have things in our freezer so I took out some chocolate I had in there...some strawberries and some cream cheese icing I had leftover from the red velvet cupcakes. Here is what I did with our cupcakes!
I microwaved the chocolate just a big and added some of the cream cheese icing to it to make a chocolate filling. I cut the cupcakes in half and filled them. :)
Next I warmed up the frozen strawberries, then drained most of the liquid out (we dont want the icing toooooo runny.) Then I added the icing the the strawberries. I poured it ontop and then we had a decedent piece of cake. mmmmmmm.

Enjoy a cupcake with your love..or friend!
Before this post is done I would like to take a second to show you what made us want to eat a bowl of fetuccine and cupcakes on saturday night! Check out the shelves Dan built for our basement! We finally have a super organized basement! I am super proud of him!

Happy Monday guys! xo -Britt

Thursday, November 24, 2011

Red Velvet Cupcakes Again

I made some yummy red velvet cupcakes awhile back on my blog, and I wanted to show you some pictures of the second time I made them! While I was visiting my parents in Ontario I was blessed to be able to see some of my closest friends! A good friend of mine came to stay with me at my parents place for a night and we decided to make these lovely red (deep pink?) cupcakes! I have decided to share these photos on my blog because I am MUCH happier with how these ones turned out :) haha If you read the other post about these cupcakes you will see that I burnt them... :( So maybe these pictures will encourgae you to make them scrumptious cupcakes! mmmm. With cream cheese icing of course!


mmm look good right?
try them out!
http://thejoyfullkitchen.blogspot.com/2011/06/red-velvet-cupcakes-with-cream-cheese.html

xoxo

Sunday, September 4, 2011

Rainbow Cupcakes

Hello everyone! My friend Katelyn is who inspired me to make these cupcakes! She is a very talented cake maker and she posted  pictures of the rainbow cake that she made! Man...her cake looks amazing. I am pretty sure I dreamt about eating it..haha. Anyways...another friend of mines birthday was coming up and I decided to make rainbow cupcakes! Overall I am happy with how they came out..but I was a little dissapointed with the icing I made. I decided to make a whipped cream icing and it was VERY difficult to work with...I suppose it is an icing that I still need to master. Here is how you can make your very own rainbow cupcakes!
You need:
- follow a basic vanilla cake or cupcake recipe
-muffin tin
-muffin cups
-food colouring
VOILA..
 Here is what I did. I made my basic vanilla cake batter and then I separated the batter into bowls.
(the picture is sideways...but I don't know how to fix it...:)
Once you have separated the batter you can add your desired colours.
The next step is you put your muffin cups into your muffin tin and then you start to add the batter! You layer the colours as you desire.
Bake as your recipe instructs you and then yayyy fun cupcakes!


xoxo-Britt

Wednesday, June 15, 2011

Red Velvet Cupcakes with Cream Cheese Icing

I had never made red velvet before, but ever since my friends red velvet wedding cake I have been dying for another taste! If you have never had red velvet, it is a MUST try. Something about the red cake-ness that just makes it so...yummy! It was a yummy treat to have and to give our friends. Here is how you can make it too!
 Ingredients!
-3 eggs
-3/4 cup of butter
-3 cups of all purpose flour
-1 tbsp unsweetended cocoa powder
-3/4 tsp salt
-2 1/4 cups of sugar
-2 tablespoons of red food colouring ( I didn't believe it and I used less than that...BUT at the end of the day my cupcakes were not as RED as I wanted...so next time I will actually follow the recipe! I am so bad for that!)
-1 1/2 tsp vanilla
-1 1/2 cups of buttermilk or sour milk
-1 1/2 tsp baking soda
-1 1/2 tsp vinegar
-1 cream cheese icing recipe

LETS GET STARTED :)
Step one.
Allow your eggs and butter to sit at room temperature for 30 minutes. Meanwhile put the muffin cups in the muffin trays and set aside. This recipe makes 24 scrumptious cupcakes.
Step two.
In a medium bowl stir together flour, cocoa powder and salt. set aside.
Step three.
Preheat your oven to 350F. In a very large mixing bowl beat the butter with an electric mixer on med-high speed for 30 seconds. Gradually add sugar, about 1/4 cup at a time. Continue to beat on medium speed until it is well combined. Scrape the sides of the bowl, beat on medium for another 2 minutes. Add the eggs, one at a time. Beating well after each addition. Beat in red food colouring and vanilla.

Step four.
Alternately add flour and sour milk. beating on low speed after each addition. Beat on low until combined.

Step five.
In a small bowl combine the baking soda and vinegar. Then you fold it into your batter. Next, you evenly pour your red batter into the muffin cups, like so.

Step six.
Bake these bad boys for 18 minutes. Make sure you check with a tooth pic to see if they are done. TIP: Do not talk on the phone while you are baking!! Or at least don't forget that you are baking. You will most likely forget to take out your baked goods... like I did with these cupcakes, I left them in for an extra 6 or 7 minutes :( Don't make my same mistake! Mine were a little brown around the edges.
VOILA!

Now time to ice them!

Cream cheese frosting recipe!
You will need:
-1 pkg of cream cheese.. I used the low fat one.
-1/2 cup of butter, softened
-2 tsp vanilla
-5 to 6 cups of powdered sugar
(and a pinch of salt)

mmmm
In a large mixing bowl beat the cream cheese, butter and vanilla with an electric mixer on medium speed until light and fluffy.

Gradually beat in the powdered sugar until you reach a spreading consistancy! Also add your pinch of salt.


Now time to ice!
Just a little tip when it comes to these delish cupcakes. We put alot of icing on them to make them look good. But we quickly learned that it was FAR too much. These cupcakes only need a little bit of icing. Also it will save you lots of calories.
Just so you know...1/12 of this frosting recipe has 348 cals! and 14g of fat.
So ice as you wish but in this case less is definately better than more!
Enjoy!
xo

Tuesday, June 7, 2011

Our Wedding Cake

Our wedding cake was absolutely perfect! Dans mom and sister made the cake for our wedding and they did  a fabulous job. It was a french vanilla, chocolate, cherry chip cake with buttercream icing.  It was important to us to have our family and friends involved in the day. We were blessed to have a lot of support! So here are the pics of our wedding cake!
Here is the cake with all of the final touches!


our cupcakes..

xo